Design Your Own Outdoor Kitchen: A Step-by-Step Guide
Table of Contents
- Start With How You Cook
- Assess Your Space and Site Conditions
- Choose Your Cooking Equipment
- Island Package, Custom Island, or Freestanding Pieces
- Plan Your Outdoor Kitchen Layout
- Visualize the Design Before You Buy
- Write a Plan You Can Follow
- Set Your Budget
- Frequently Asked Questions
Last Updated: October 5, 2026
You can design your own outdoor kitchen without hiring a designer. The work is mostly decisions made in the right order: how you cook, what your space allows, which equipment you need, and how it all fits together. This guide walks through each step so you can make those decisions before you buy anything.
Start With How You Cook
Your cooking habits decide which equipment matters and where it should go, so start there rather than with a product list.
Most outdoor cooking moves through three zones: prep, cooking and serving. Prep is where you slice, season and assemble. Cooking is where the grill, griddle or smoker sits. Serving is where finished food lands before it reaches the table. Picture how you move between those zones on a normal night, and your layout starts to take shape.
Then look at what you actually cook. If you smoke brisket most weekends and rarely grill burgers, a smoker earns a bigger share of the space and budget. If you cook breakfast outside or feed a crowd, a griddle may matter as much as the grill.
Answer these before you sketch anything:
- What meals do you cook outdoors most often?
- How many people do you usually cook for?
- Will you prep outside, or prep indoors and carry food out?
- Do you need to cook several things at different temperatures at once?
Your answers shape the equipment list and tell you how much counter space, storage and refrigeration you need. Our guide to planning a backyard kitchen layout goes deeper on building a layout around your cooking.
Assess Your Space and Site Conditions
Your yard sets the limits. Measure the area you have, and note slopes, low spots that stay wet, and how the sun crosses it during the hours you usually cook.
Check traffic flow. Where do people walk between the house and the yard? Try to keep the cooking area out of the main path so guests aren't walking through it.
Find your utilities. Note where the nearest gas supply, outdoor electrical outlets and water are. A propane grill may run on a portable cylinder or, where the product and setup allow it, a larger property-level tank. Natural gas needs a gas line, and availability varies by location. Many grill lights, rotisserie motors and outdoor refrigerators need an outdoor electrical supply, so check each product's requirements.
Look at what surrounds the spot: overhanging trees, fences, walls, eaves and anything combustible. Every grill and smoker has clearance requirements, and they vary by model. Confirm them in the manufacturer's installation instructions before you settle on a location.
Take photos and draw a rough overhead sketch with the house, utilities, sun direction and any obstacles marked. That sketch is your planning baseline.
Choose Your Cooking Equipment
Start with the equipment you'll use most, then add pieces only if you have the space and budget for them.
- Gas grill. The centerpiece of most outdoor kitchens. Gas grills come in two forms: freestanding grills on their own cart, and built-in grill heads made to install in an island.
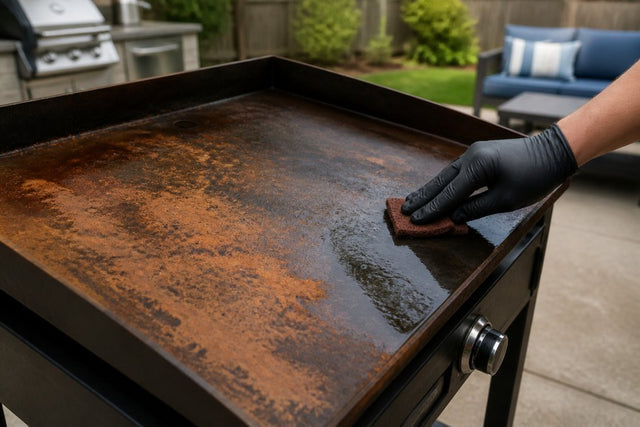
- Griddle. A flat-top surface for breakfast, smash burgers, vegetables and anything that would fall through grates. Griddles also come in freestanding and built-in versions.
- Smoker. For low-and-slow cooking like brisket, ribs and pork shoulder. If you smoke often, a dedicated smoker is worth the space.
- Side or power burner. Handy for sauces, sides or boiling water while the grill is busy. Useful, but rarely the first priority.
- Outdoor refrigerator. Keeps ingredients and drinks close. Choose a unit the manufacturer rates for outdoor use.
- Counter space and storage. These matter as much as the cooking equipment. You need room to prep and plate, and doors or drawers to keep tools and supplies out of the weather.
Island Package, Custom Island, or Freestanding Pieces
Once you know what you need, decide how it will come together. There are three common paths.
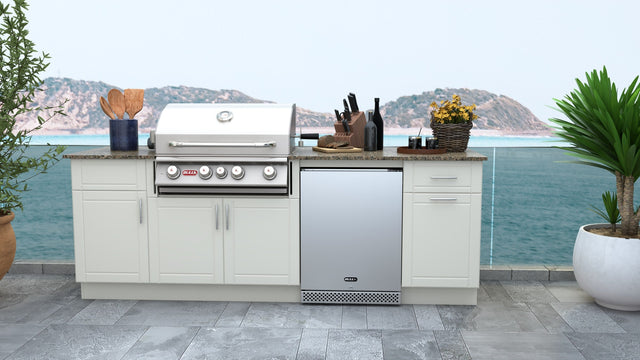
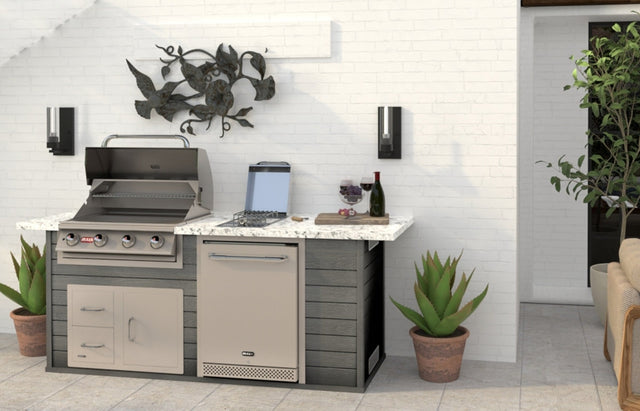
An island package pairs a finished base and countertop with the main components already chosen. Our outdoor kitchen islands work this way. The Bull Myrtle Beach 8-Ft DuraKitchen Island Package, for example, combines a marine-grade HDPE base and granite countertop with the Bull Angus four-burner built-in gas grill, a stainless steel refrigerator and a double trash drawer. Because the components are chosen for you, much of the design work is already done.

A custom island is built on site to hold components you choose one at a time, such as a built-in grill, a built-in griddle, burners, refrigeration, and access doors and drawers. It gives you the most control over size and finish, but you design the structure and arrange for it to be built.
Freestanding pieces skip the structure. A freestanding gas grill sits on its own cart, and you can add a freestanding griddle or smoker beside it. You can rearrange pieces and add more over time, which suits small or oddly shaped spaces and a phased plan. The tradeoff is less counter space and storage than an island.
Whichever path you choose, the grill still needs a fuel supply set up for its location, and an island with a refrigerator or lights also needs outdoor electrical. Assembly, venting and hookup needs vary by product, so check the product page and the manufacturer's instructions for the exact model.
Plan Your Outdoor Kitchen Layout
The layout decides how easily you can cook and how well the space works for guests.
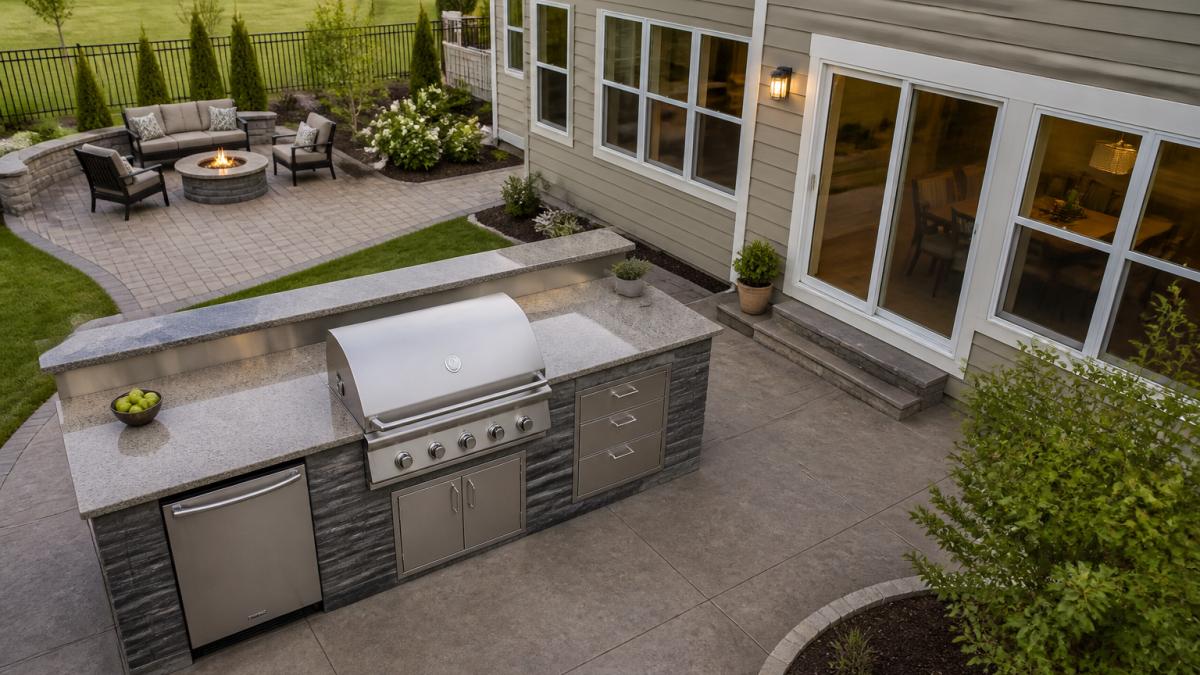
Common layouts include:
- Linear: everything in one line. Fits narrow spaces and works well for one cook.
- L-shaped: components along two sides that meet at a corner. Adds counter space without taking over the patio.
- U-shaped: components on three sides. The most counter and storage, but it needs the most room.
- Island with seating: a central structure guests can gather around while you cook.
Place the grill or griddle first and build around it. Keep it away from the main walkway, and follow the manufacturer's clearance requirements. Put prep space on one side and landing space for finished food on the other, so food moves in one direction. Keep the refrigerator close to prep, and keep trash and storage reachable without crowding the cook.
Think about sightlines, too. If you like to talk with guests while you cook, face the grill toward the seating area rather than a wall.
Before you commit, mark the footprint on the patio with tape or cardboard and walk through a normal cook. Check that grill lids, refrigerator doors and cabinet doors can open fully without blocking a path or each other.
Visualize the Design Before You Buy
An outdoor kitchen design tool helps you see the layout before you spend money. That can be as simple as graph paper or as detailed as 3D planning software.
For a paper plan, draw your space to scale, cut out shapes for each piece of equipment using the dimensions on each product page, and move them around until the layout works. For a digital plan, enter your real measurements, including obstacles like trees, fences and doors, so the drawing matches your yard.
Either way, the goal is the same: confirm that everything fits, doors open, and walkways stay clear before you order.
Write a Plan You Can Follow
Once the layout works, turn it into a written plan. It keeps a DIY outdoor kitchen project on track and gives any contractor you hire a clear picture of what you want.
- Equipment list: every appliance, storage piece and accessory, by exact model.
- Dimensions: width, depth and height of each piece, plus the clearances from each manual.
- Placement: the position of each piece, measured from a fixed point like the house wall.
- Utilities: where gas, electrical and water connections need to be, and what each product requires.
- Sequence: the order of site prep, utility work, delivery, assembly and hookups.
Read the manufacturer's installation instructions for each component before you finalize the plan. Have gas connections made by a qualified professional and electrical work done by a licensed electrician, following the manufacturer's instructions and local code. Permit requirements vary by city and county, so check with your local building department before you start.
Set Your Budget
Your budget decides how far each earlier decision can go, so set it before you fall for a specific setup.
Equipment is the part you can price exactly: check current prices on each product page, and compare an island package against the cost of buying similar pieces separately. Then plan for the costs that depend on your home:
- Site preparation: leveling, a new patio section or drainage work.
- Utilities: running a gas line or adding outdoor electrical circuits.
- Structure: materials and labor for a custom island.
- Delivery and assembly: check the shipping and assembly details for each product.
- Accessories: covers, tools and lighting.
Many homeowners build in phases. A grill and some counter space can come first, with refrigeration or a griddle added later. Our guide to the average cost to build an outdoor kitchen breaks down what moves the total up or down.
Planning your own build?
Get our free Outdoor Kitchen Planning Checklist: 12 points to settle before you order.
Frequently Asked Questions
How can I design my own outdoor kitchen?
Work in order. Start with what you cook and how many people you cook for, then measure your space and locate your utilities. Choose your main cooking equipment, decide between an island package, a custom island or freestanding pieces, and sketch a layout to scale. Confirm dimensions, clearances and hookup requirements in each manufacturer's instructions before you buy.
What is the difference between an outdoor kitchen island and freestanding equipment?
An outdoor kitchen island holds a built-in grill and other components in one base with a countertop. Freestanding equipment, like a grill on its own cart, stands on its own and can be moved or added to over time. Islands give you more counter space and storage. Freestanding pieces give you more flexibility and skip the structure.
Which appliances should I prioritize?
The equipment you will use most often. For most homeowners that is a gas grill. Add a griddle if you cook breakfast or feed groups often, and a smoker if you cook low and slow. Side burners, refrigeration and extra storage can come later if space and budget allow.
Do I need a permit to build an outdoor kitchen?
It depends on where you live and what you build. Gas lines, electrical circuits and permanent structures can involve permits or inspections, but requirements vary by city and county. Check with your local building department before you start.
A well-planned outdoor kitchen starts with how you cook and grows from there. Backyard Kitchens Direct carries island packages, built-in components and freestanding equipment, so you can match each piece to your plan.